HTML5 Geolocation API
Practical Project: Geofencing Implementation
In this chapter, we will apply what we have learned in a practical geofencing project. Geofencing is a technique that allows defining specific geographical areas and triggering certain actions when the user enters or exits those areas. This technique is widely used in applications such as location-based notifications, proximity alerts, and tracking services.

What is Geofencing?
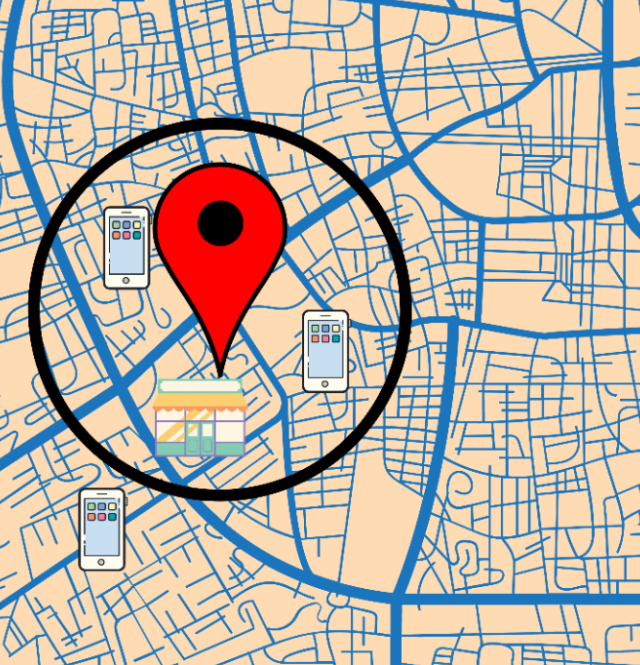
A geofence is a virtual zone defined by geographical coordinates. This zone can have different shapes, but it is commonly represented as a circle with a specific radius. By combining the Geolocation API with map services, we can determine when a user enters or exits a geofence and trigger actions accordingly.
Examples of applications that use geofencing:
- Proximity Notifications: Send offers to users who enter a specific store.
- Safety Alerts: Notify users when they are near a dangerous area.
- Movement Tracking: Send alerts when someone enters or exits a monitored area.
Project Setup
For this project, we will create an application that:
- Allows the user to define a geofence around their current location.
- Monitors in real-time if the user enters or exits the defined area.
- Notifies the user with alerts whenever they cross the geofence boundaries.
Step 1: Prepare HTML and Load the Map
Let's start by creating a container for the map and geofencing controls.
html
Step 2: Initialize the Map and Get the User's Location
Next, we initialize the map and center the view on the user's current location.
javascript
javascript
Step 3: Define the Geofence
Let's add the setGeofence function to draw a circle on the map that represents the geofence area. We will also store the center position and radius of the geofence to calculate the user's distance to the center.
javascript
Step 4: Monitor the Location and Detect Entry and Exit
We will use watchPosition to track the user's location in real-time and compare their distance to the geofence center.
javascript
Step 5: Clear the Geofence
We add the clearGeofence function to allow the user to clear the geofence and stop monitoring.
javascript
Testing the Geofencing Application
To test this application, we can set a geofence at a fixed location, activate tracking, and move inside and outside the defined area to see the changes in the geofence status. This application can be adapted to send notifications or perform other actions automatically when the user enters or exits the monitored area.
Chapter Summary
In this chapter, we developed a complete geofencing project that allows the user to define a geographic area, monitor their position in real-time, and receive alerts when entering or exiting that zone. This project is an excellent basis for applications that require proximity monitoring and location-based personalized alerts.
This concludes our exploration of the Geolocation API. Congratulations on completing the course! You now have the tools to create advanced and personalized applications based on the user's location.
Support Chuck’s Academy!
Enjoying this course? I put a lot of effort into making programming education free and accessible. If you found this helpful, consider buying me a coffee to support future lessons. Every contribution helps keep this academy running! ☕🚀

Chat with Chuck

- Introduction to the Geolocation API
- Requesting User Location and Managing Permissions
- Retrieving Location Coordinates
- Advanced Options in Geolocation
- Handling Errors in the Geolocation API
- User Movement Tracking with `watchPosition`
- Integration of Geolocation with Maps
- Practical Project: Geofencing Implementation
- Troubleshooting Common Problems in Geolocation
- Conclusion and Next Steps


