Docker
Installation and Configuration of Docker
To start working with Docker, it is essential to perform a proper installation and configure it correctly on the operating system. This chapter provides a step-by-step guide to installing Docker on different platforms and verifying that it is ready to run containers.
Installing Docker on Different Operating Systems
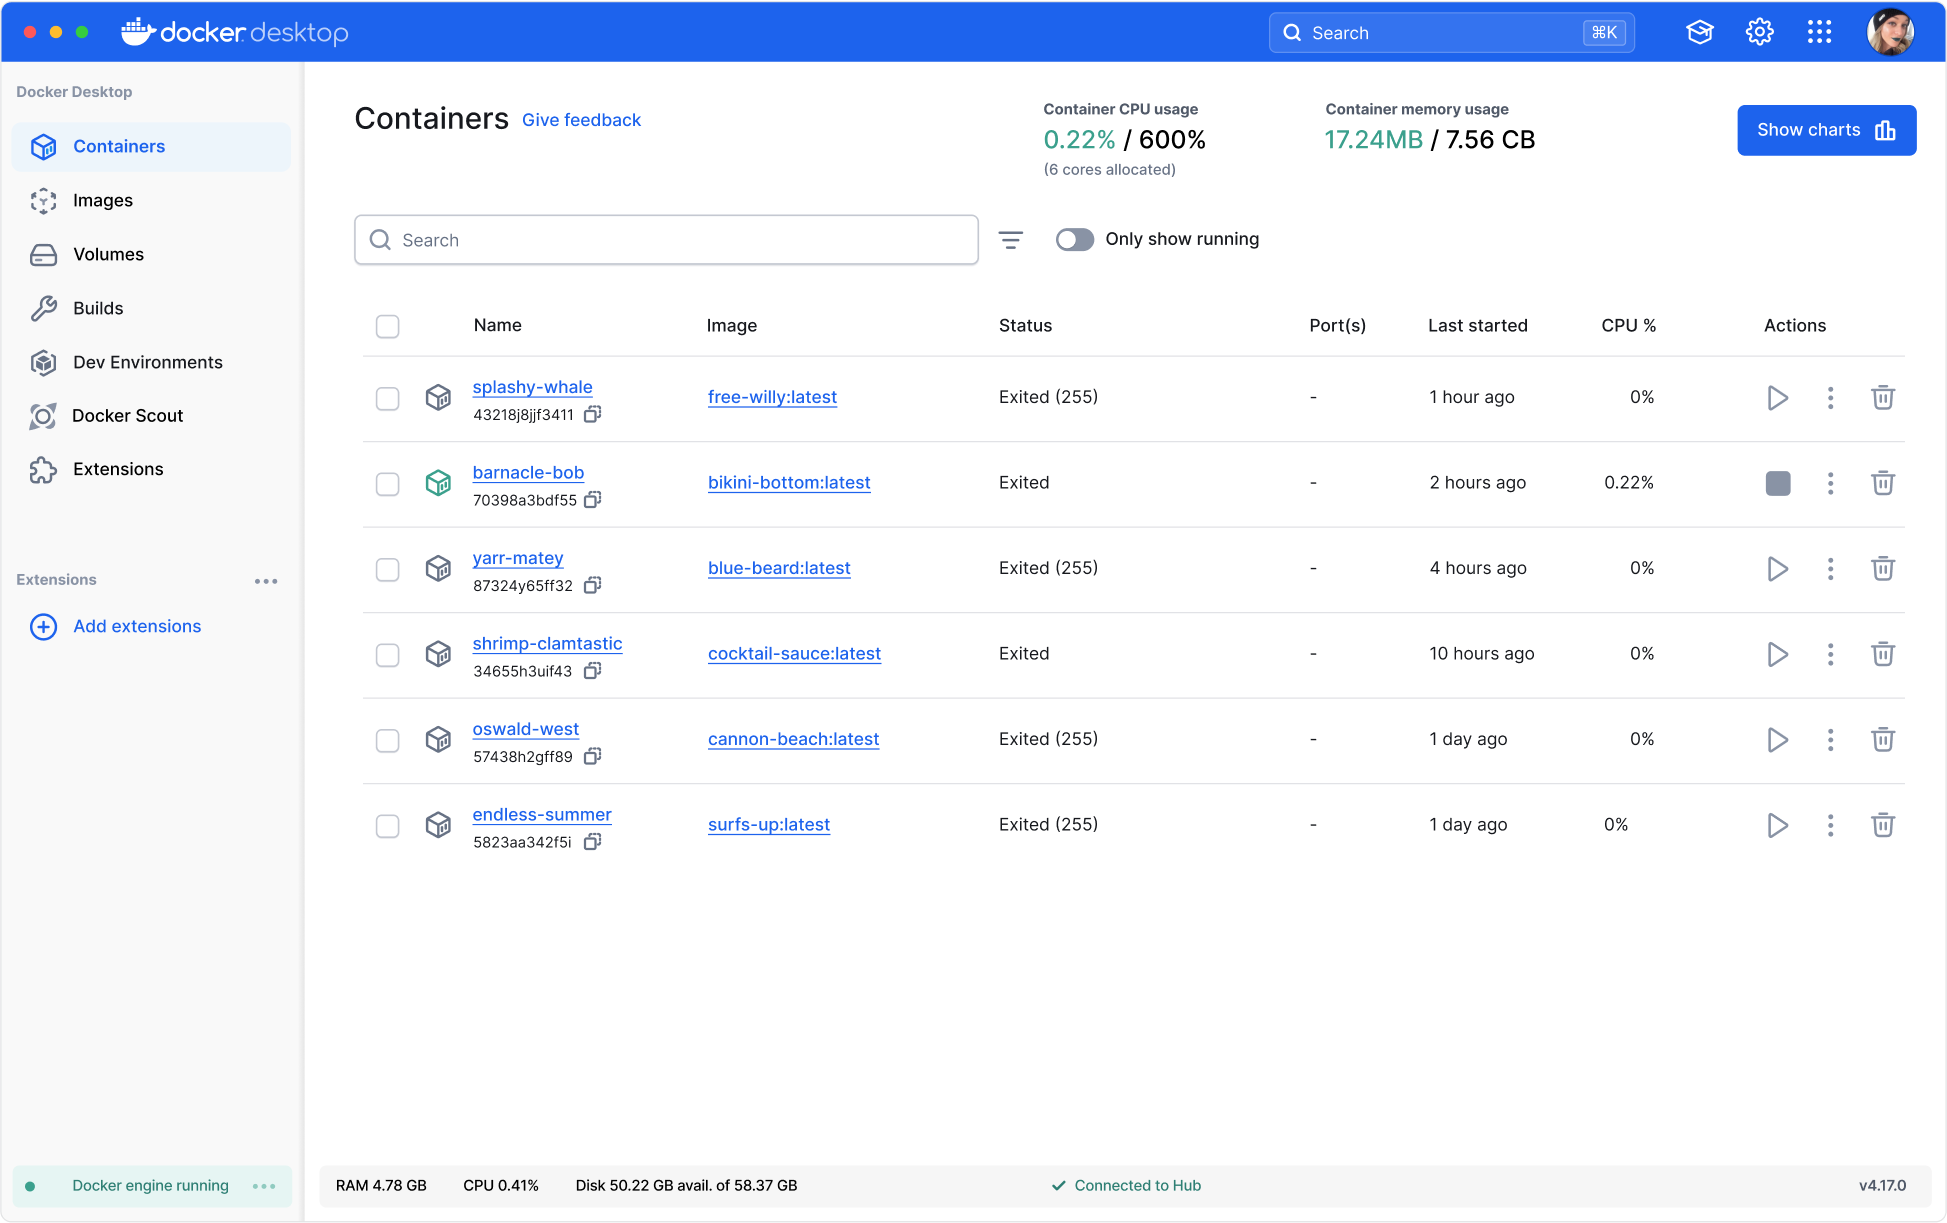
 This image shows the Docker Desktop interface
Installation on Windows
To install Docker on Windows, Docker Desktop is the recommended option. Docker Desktop provides a graphical interface and allows working with Docker on Windows 10 or higher systems.
- Download Docker Desktop from Docker's official website.
- Run the installer and follow the on-screen instructions.
- Once the installation is complete, start Docker Desktop.
Installation on macOS
On macOS, Docker is also installed using Docker Desktop, which provides a simple environment for managing containers.
- Download Docker Desktop for macOS from Docker's official website.
- Run the downloaded file and drag Docker to the Applications folder.
- Open Docker from the Applications folder and accept the terms of use.
Installation on Linux
For Linux, the Docker installation varies slightly between distributions. Below is the installation on Ubuntu as an example.
bash
For other Linux-based systems, check Docker's official documentation, which provides detailed instructions.
Installation Verification
After installation, it is important to verify that Docker is correctly configured and working. The following command allows us to check if Docker runs smoothly:
bash
If the command shows the Docker version, it means the installation was successful.
Initial Docker Configuration
Docker can be customized to meet different needs, especially in a development or production environment. Below are some basic configurations that can be useful.
Permissions Configuration
On Linux systems, users need superuser permissions to run Docker commands. To avoid using sudo for every command, the current user can be added to the docker group:
bash
It's important to log out and back in to apply the changes.
Docker Daemon File Configuration
The Docker Daemon configuration file (daemon.json) allows configuring advanced options such as resource limiting and proxy settings. On Linux systems, the file is usually located at /etc/docker/daemon.json.
Example of configuration to set resource limits:
json
After making changes to the configuration file, it is necessary to restart Docker for the changes to take effect:
bash
Getting Started with Docker
Once Docker is installed and configured, it is useful to try some basic commands to get familiar with the tool.
Run a Test Container
The docker run command allows running a container from an image. For a quick test, we can use the hello-world image, which is designed to verify that Docker is working correctly.
bash
This command downloads the hello-world image from Docker Hub (if not already available on the system) and runs a container that prints a confirmation message.
Conclusion
The installation and configuration of Docker is the first step to harnessing the power of containerization in the development and deployment of applications. With Docker ready to use, we are prepared to explore how to create and manage our own images and containers in the next chapter.
Support Chuck’s Academy!
Enjoying this course? I put a lot of effort into making programming education free and accessible. If you found this helpful, consider buying me a coffee to support future lessons. Every contribution helps keep this academy running! ☕🚀

Chat with Chuck

- Introduction to Docker and Containerization
- Installation and Configuration of Docker
- Principles of Containers and Virtualization
- Images in Docker: Creation and Management
- Writing and Optimizing Images
- Volumes and Persistent Storage in Docker
- Networking in Docker: Container Connectivity
- Docker Compose: Multi-Container Application Management
- Best Practices in Docker for Application Deployment
- Resource Management and Optimization in Docker
- Security in Docker and Best Containerization Practices
- Docker Swarm: Basic Container Orchestration
- Kubernetes vs Docker Swarm: Introduction to Kubernetes
- Deployment and Scalability with Kubernetes
- Continuous Integration and Continuous Delivery (CI/CD) with Docker
- Docker Image Registry: Docker Hub and Alternatives
- Monitoring and Logging of Containers in Docker
- Problem Solving and Debugging in Docker
- Migrating Applications to Docker Containers
- Practical Examples: Deploying Web Applications and APIs
- Conclusions and Best Practices in Using Docker


